phpstorm安装xdebug(phpstudy环境下)成功运行的操作步骤
注意:
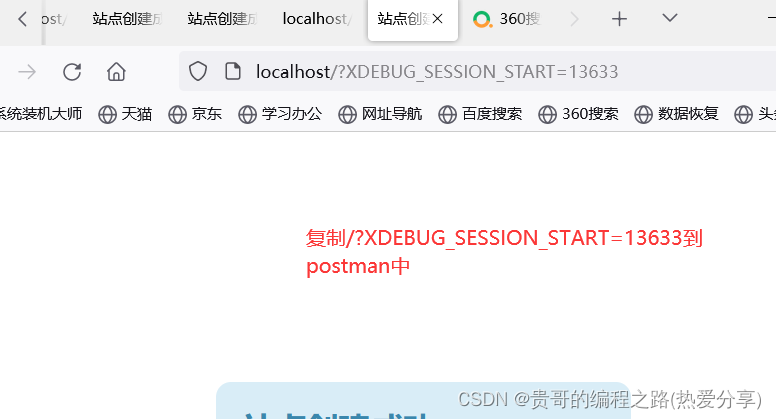
想要在phpstorm中调试请满足一个条件。那就是安装在d盘。为什么呢?因为这样方便复制粘贴呀,
要开启phpstudy中的php扩展的xdebug啊
第一步:phpstudy里面的php.ini中:复制粘贴
[Xdebug]
xdebug.default_enable=On
xdebug.idekey = "PHPSTORM"
zend_extension=D:/phpstudy_pro/Extensions/php/php7.3.4nts/ext/php_xdebug.dll
xdebug.collect_params=1
xdebug.collect_return=1
xdebug.auto_trace=On
xdebug.trace_output_dir=D:/phpstudy_pro/Extensions/php_log/php7.3.4nts.xdebug.trace
xdebug.profiler_enable=On
xdebug.profiler_output_dir ="D:\phpstudy_pro\Extensions\tmp\xdebug"
xdebug.remote_enable=On
xdebug.remote_host=127.0.0.1
xdebug.remote_port=9100
xdebug.remote_handler=dbgp
第二步:phpstorm中
phpstorm—>File----》settings---->languages&Frameworks---->php---->debug—>
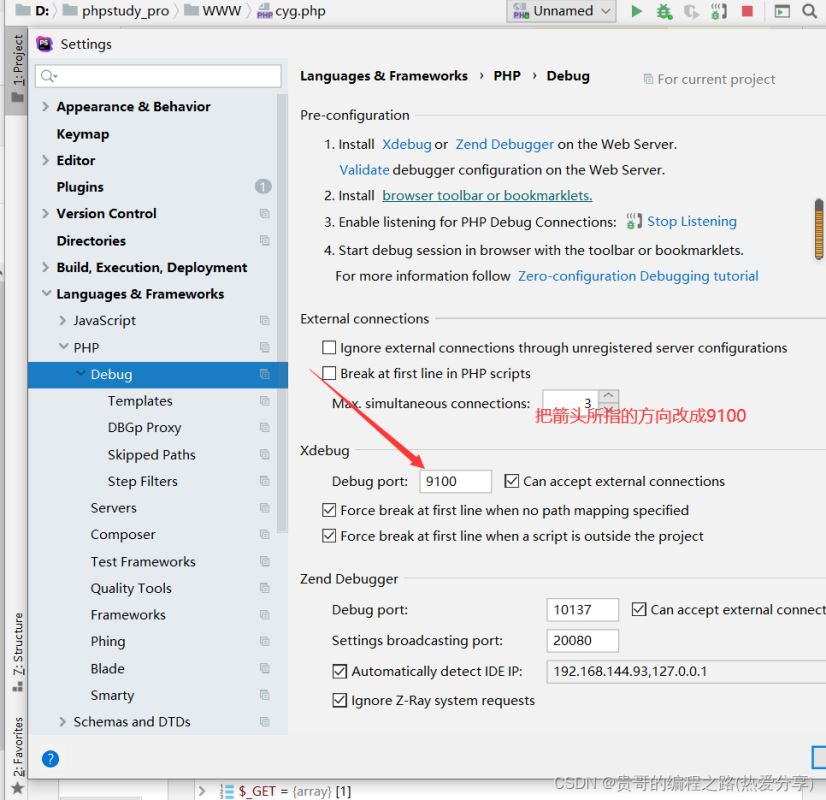
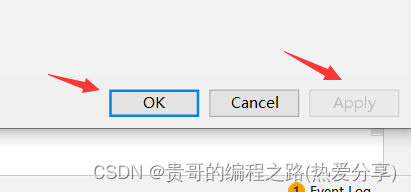
点击这两个,先点击apply再点击ok.
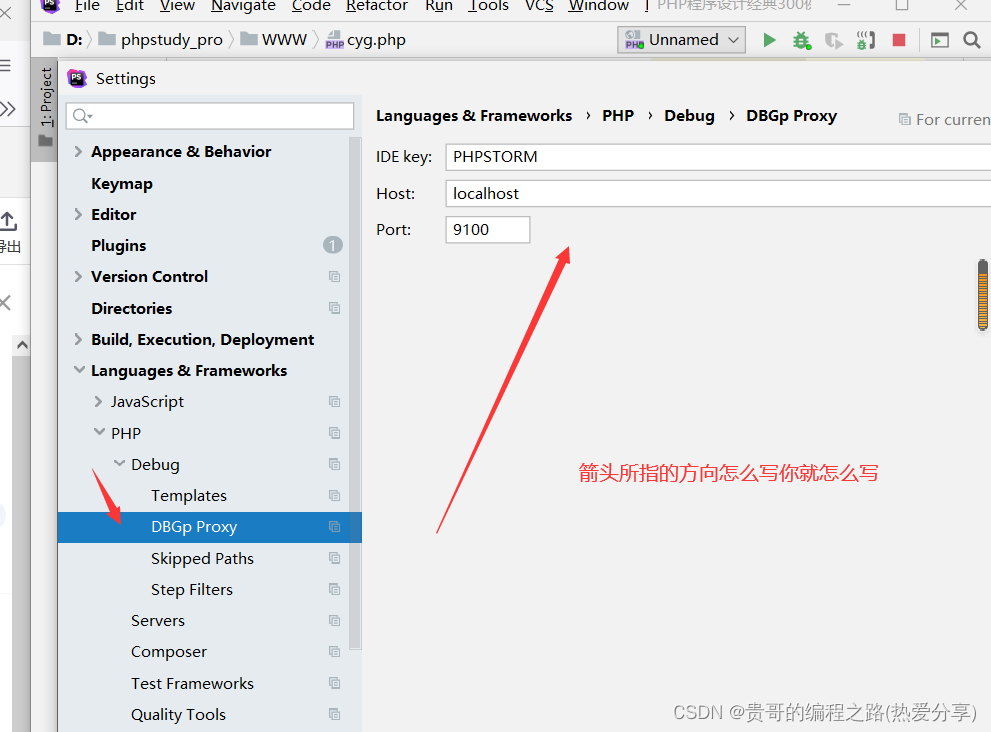
第三步:phpstorm中
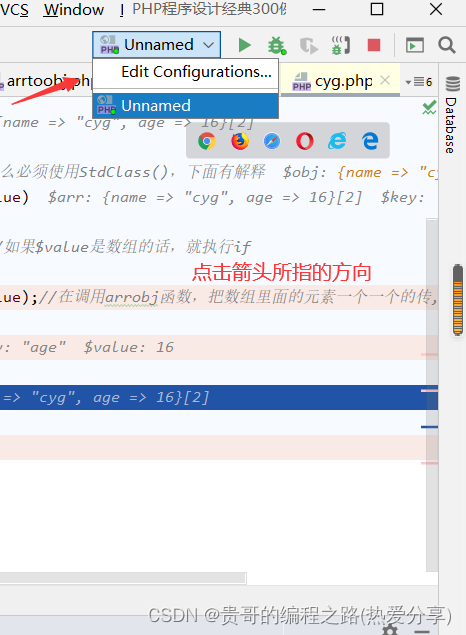

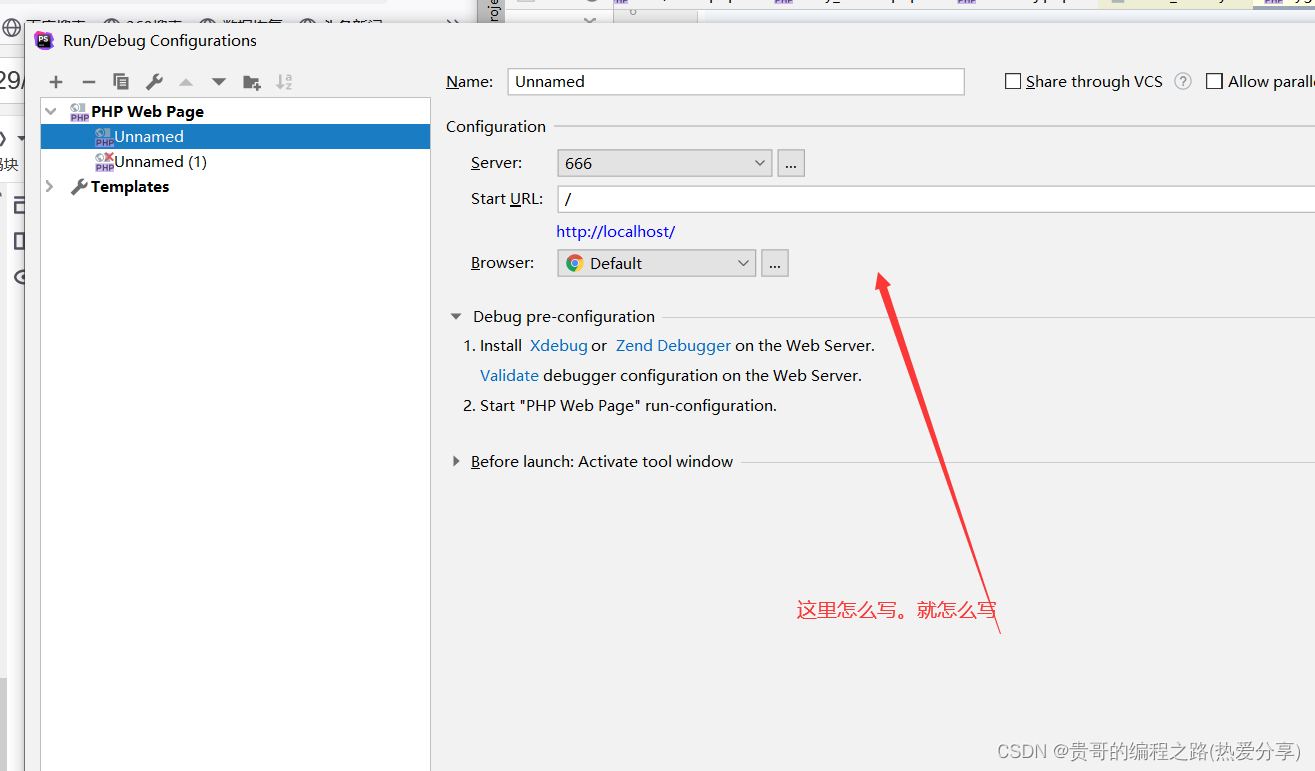
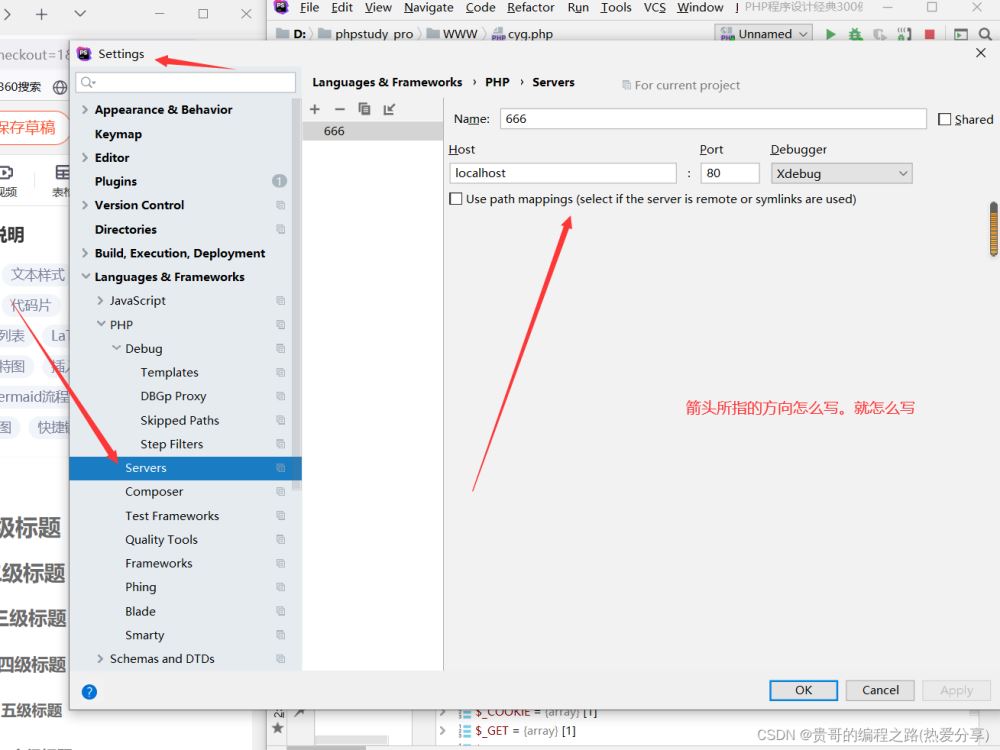
第四步:phpstorm中
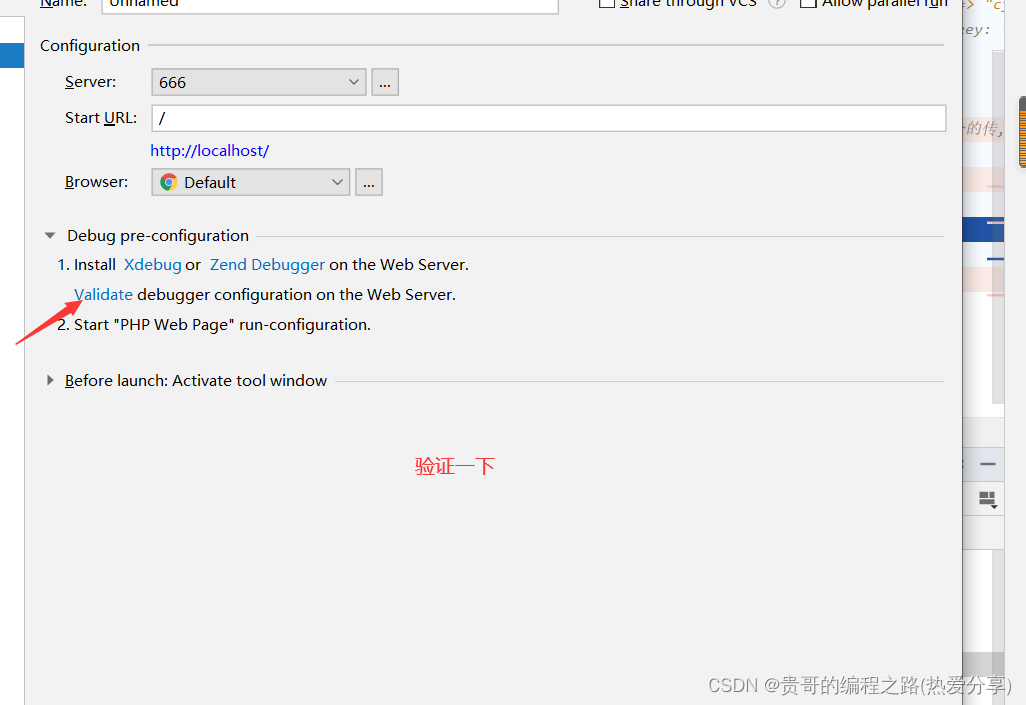

第五步:phpstorm中
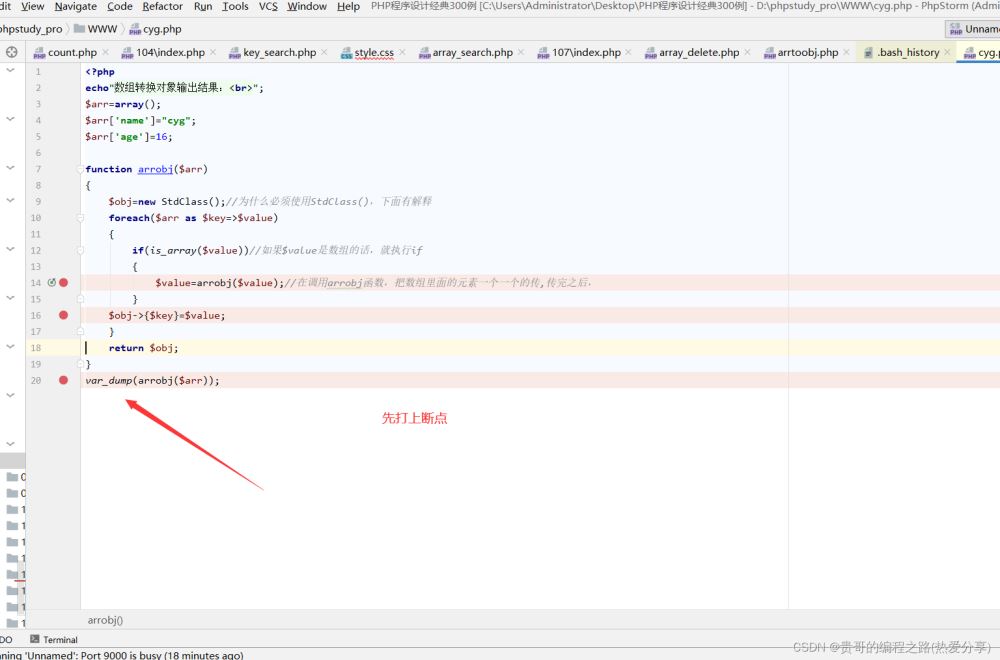

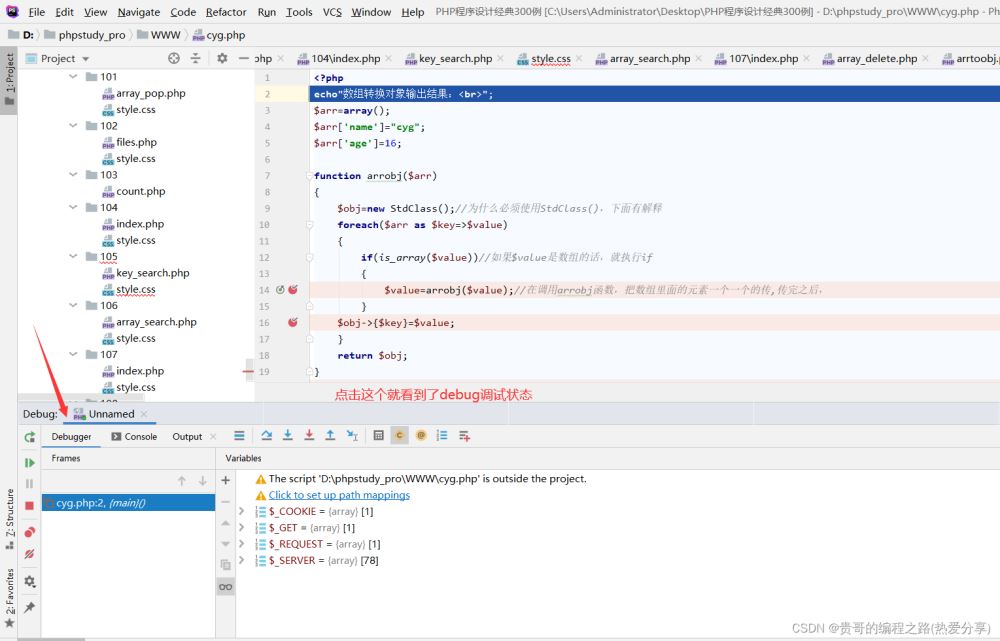
完成!!!
关于phpstorm安装xdebug(phpstudy环境下)成功运行的文章就介绍至此,更多相关phpstorm安装xdebug内容请搜索编程宝库以前的文章,希望以后支持编程宝库!
微信小程序支付的主要逻辑集中在后端,前端只需携带支付所需的数据请求后端接口然后根据返回结果做相应成功失败处理即可。 一、微信支付支付主要分为几个步骤:前端携带支付需要的数据(商品id,购买数量 ...